

This page explains how to log climbs with screenshots from the app. It is not as comprehensive as the guide, as the goal here is to get you started with logging. For proper definitions of every aspect of the app, please check the guide by clicking here
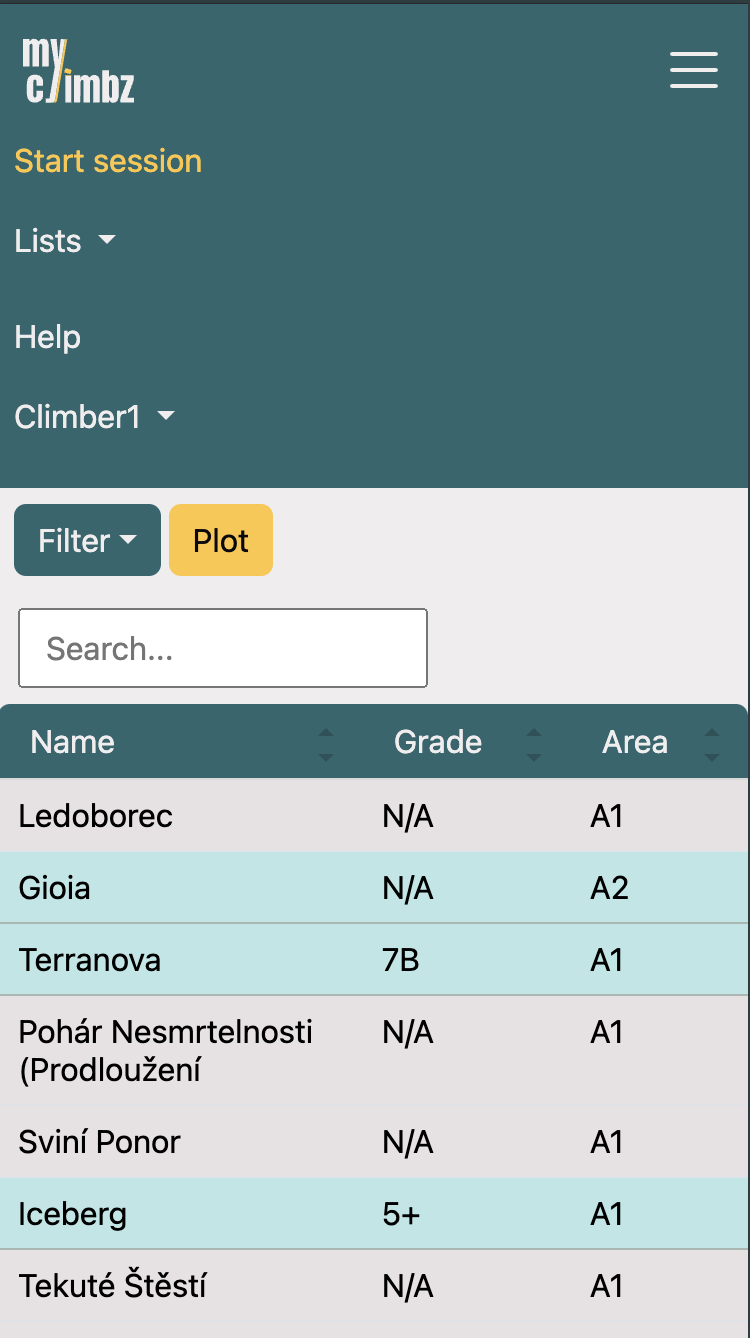
Before adding climbs, we must first start a session, stating the date and area. In your laptop, you can find the button on the navigation bar. On your phone, you need to click on the burger icon first to open the menu.
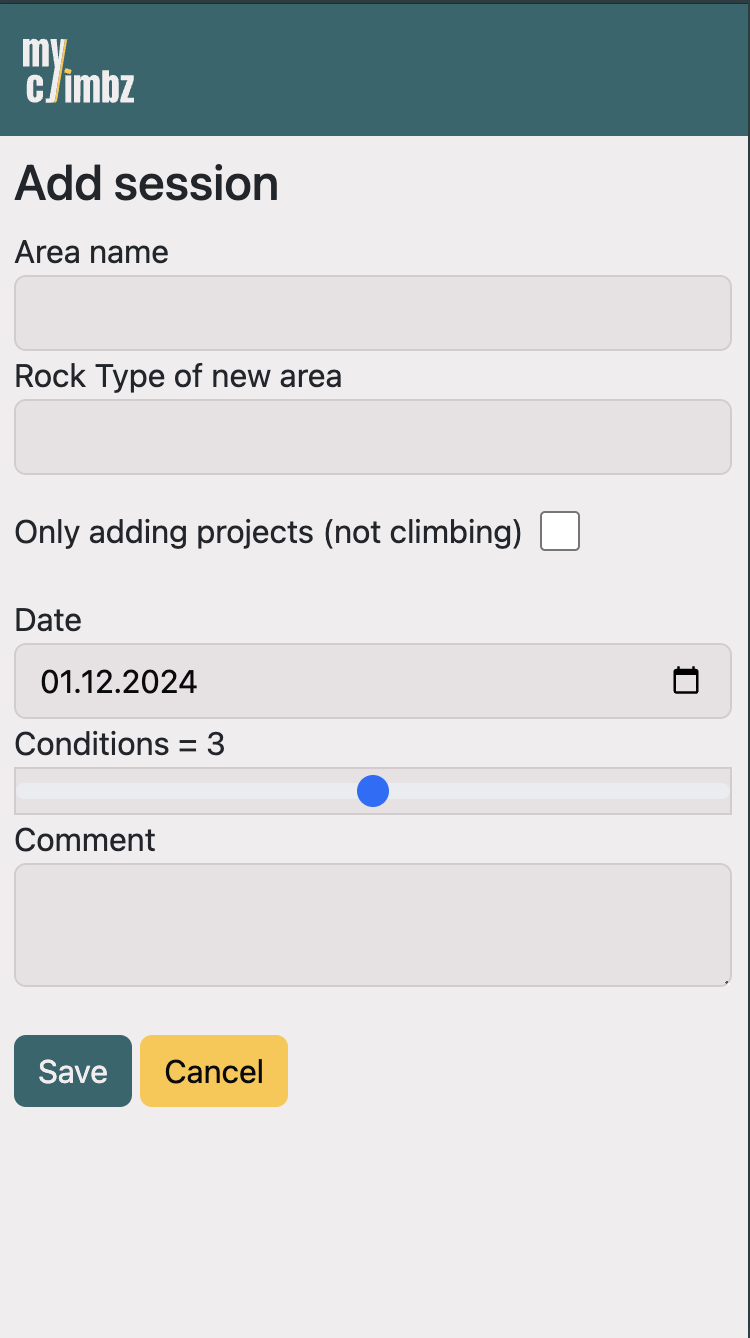
Input the area and the date where the session took place. Optionally, you can also rate the weather conditions from 1 to 5. If the area is new, a field to select the rock type will appear.
If you only want to add new routes, e.g. because you are planning a future trip, check the box "Only adding projects". The date and conditions fields will be hidden then, as they are irrelevant for a project search. When clicking on "Submit", a project search will be started, which, in contrast to a session, is not stored in the database.
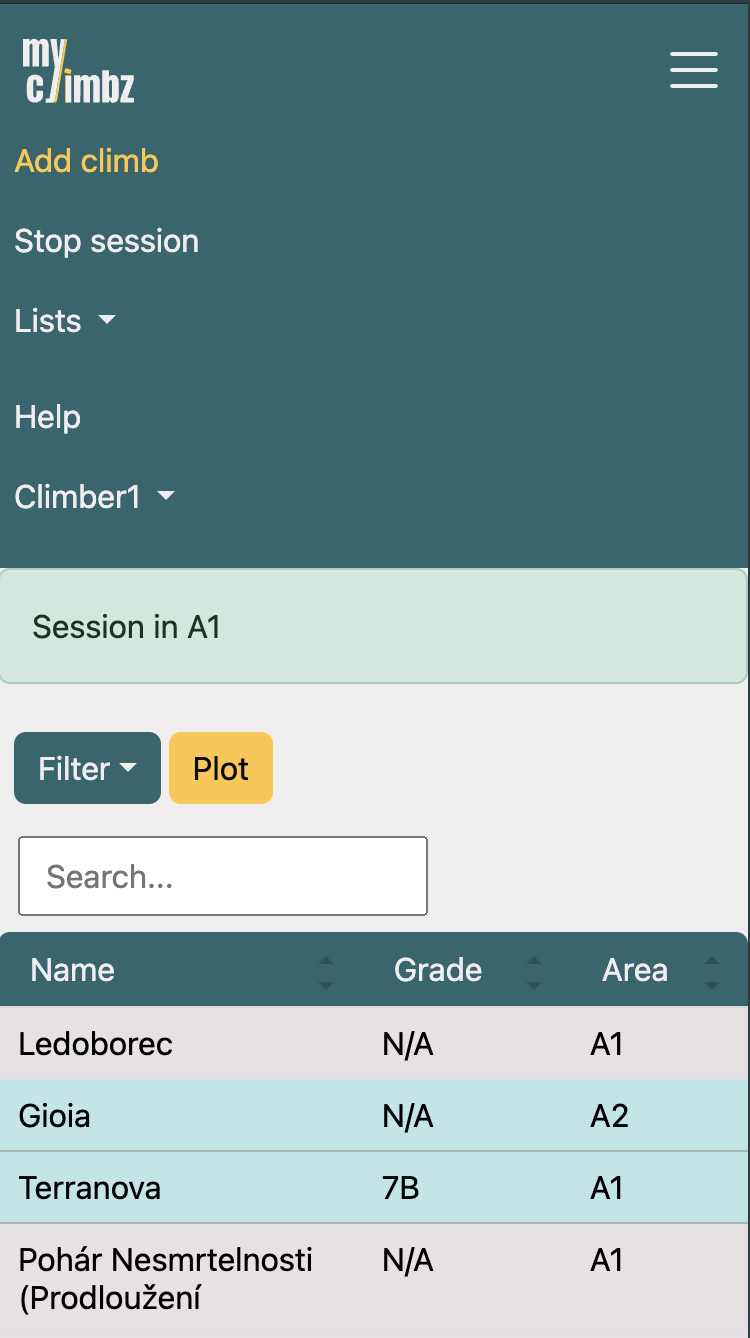
Once a session is open, the button to start a session is replaced with a button to add a climb (called "Add climb"). Also, a second button is added to stop the started session. If you click on "Stop session" erroneously, don't worry. Just go to the page of the session and click on "Reopen session".
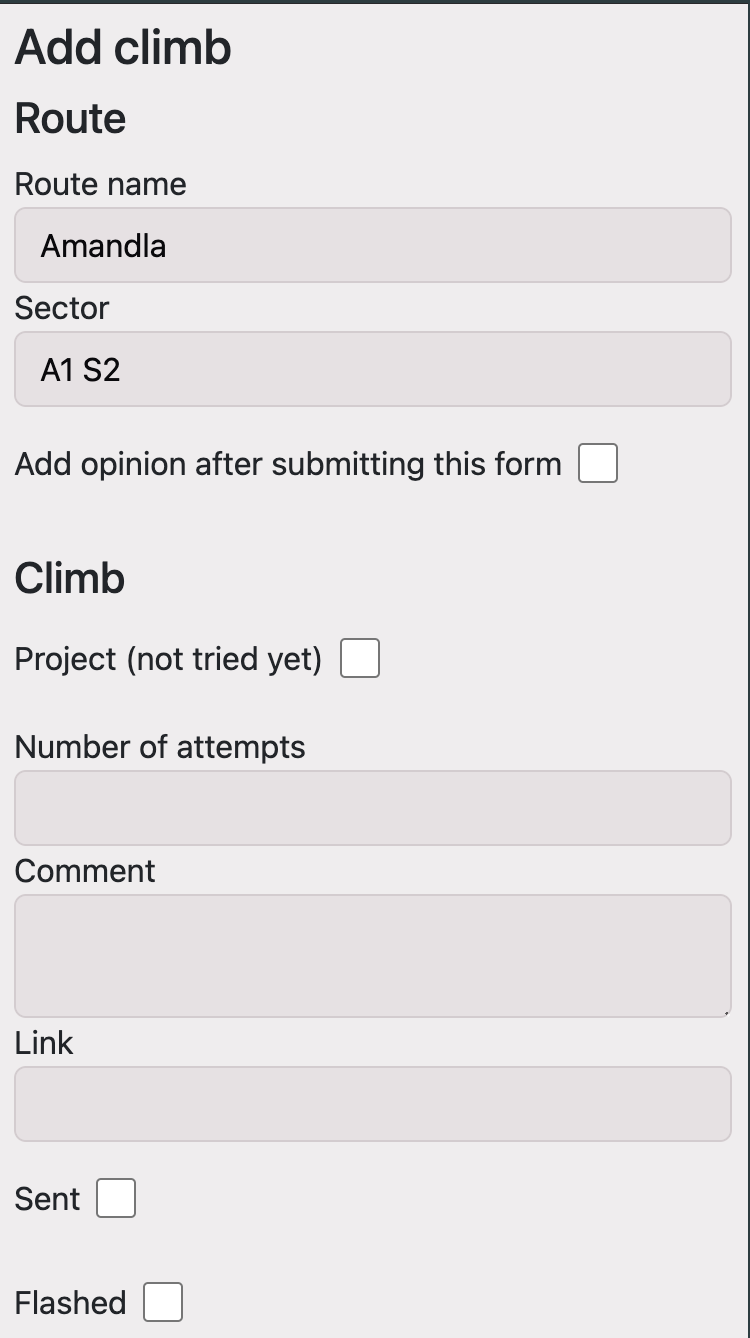
As with the area, if the route you enter does not exist in the database for the given sector, the fields to enter information about the route will stay there. You can read more about them in the guide. When the form is submitted, the route will be stored in the database.
At the end of the route form, there is a checkbox called "Add opinion after submitting this form". If you check it, after submitting the climb form you will be sent to the opinion form, where you can enter your subjective opinion about the route, including the grade, rating and cruxes.
Below the fields for the route, you will find the fields for entering information about your session on the route, mainly the number of attempts and whether you sent.
Finally, if you are in the middle of a session and come across a boulder you want to mark as a project, just check the checkbox "Project (not tried yet)".